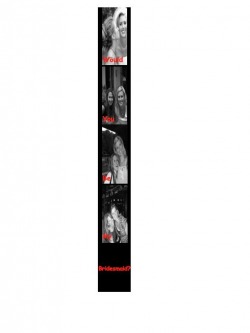
Bridal Party Requests
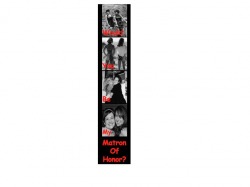
Unfortunately, none of our wedding party is local to where we are-as a matter of fact-they are worldwide. I still wanted to think of a cute, special way to ask each person though. They all knew we were doing photobooth save the date magnets, so I created five different samples and called them each and asked them to help critique the save the dates. Little did they know that the last one asked them to be in the wedding party. Since we were on the phone I was able to sorta get their reactions which was lot of fun. These are some examples. I created these on powerpoint.
Monogram
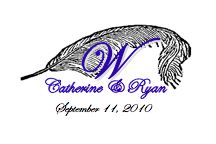
We have been playing around with a bunch of different styles of monograms. Since we are trying to bring in the zoo (our reception site) as a theme, we decided to go with this one, created in powerpoint. We felt it still had some traditional elegance but liked the reference of the zoo thru the feather.
Save The Dates
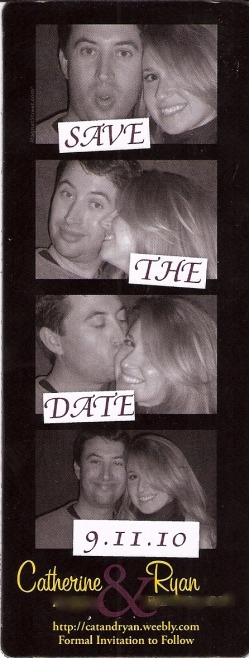
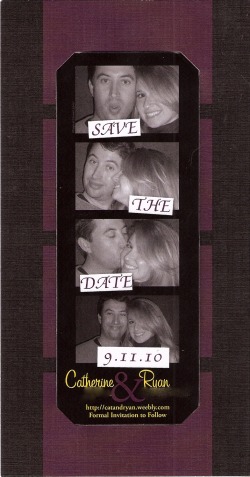
We spent hours designing these amazing old school photobooth save the date magnets, but realized that the quality of the magnet we were creating would be really flimsy. So we took the photos from that magnet and went to magnetstreet.com and created these instead. We paid about $170 for 150. That included envelopes and a holder for the magnet which we personalized with details for our wedding. We got TONS of compliments and it's kinda funny cause when we visit friends we always see them hanging on their fridges.
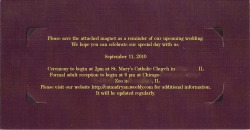
Back of the holder
Invitations
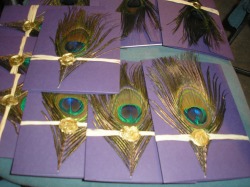
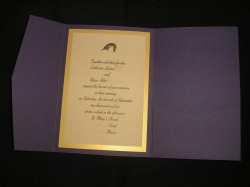
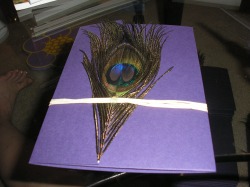
A bunch of finished invites
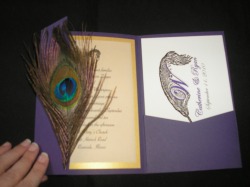
The invites we designed and put together ourselves. All paper materials were bought from paperandmore.com (vellum, pocketfolds, envelopes, matting, and 80 lb paper) Feathers from save-on-crafts.com Raffia, wax seal and wax from Michaels RSVP Postcards were designed in Vistaprint. In total after postage for both RSVP and Invite we spent just under $3.00 per invitation (including printing and cutting). We purchased enough materials to make 250 even though we were making just over 200 invites. Since we are newbies here we figured we would make ample mistakes. We chose to not risk it with our home printer and brought it to a printer instead. Since we only needed black ink we saved a bundle and for $45 they printed 210 invites (vellum and 80 lb paper) and cut them for us. 2 Invites were able to be printed on each 8x11 vellum sheet. One sheet 8x11 size sheet of 80lb paper was used for each set of inserts for each invitation. We just had to measure out the sign for the inserts to get them to fit on one sheet correctly. We designed everything in powerpoint.
A friend was wonderful enough to offer us her calligraphy as a wedding gift to us. I don't have any pictures but our envelopes were the same color purple as the pocketfolds so she used a metallic gold for addressing.
A friend was wonderful enough to offer us her calligraphy as a wedding gift to us. I don't have any pictures but our envelopes were the same color purple as the pocketfolds so she used a metallic gold for addressing.
Vellum Runner was used to adhere Matting to pocketfold and vellum to matting
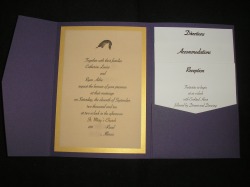
Invite with inserts
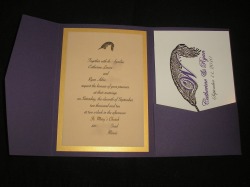
RSVP over inserts-this is how our invites will arrive to invitees
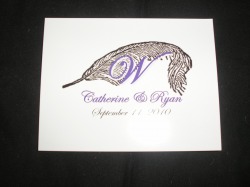
Front of the RSVP with our Monogram
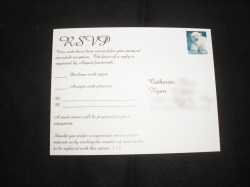
Back of RSVP
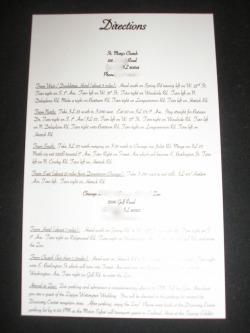
Directions Insert
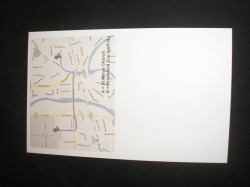
Back of the Directions Insert-we used 3x4 mailing labels to print color maps
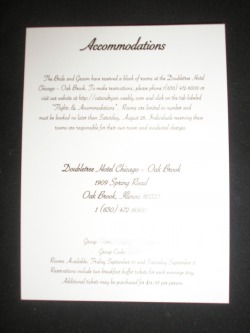
Accommodations Insert
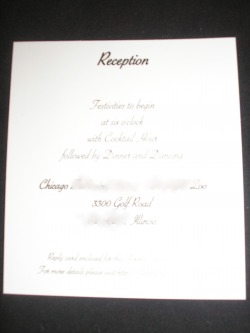
Reception Insert
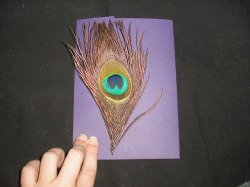
Used hot glue along the edge of the pocketfold to secure the feather
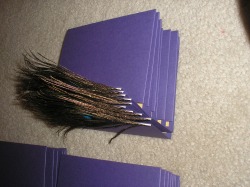
Pile of Invites ready to be wrapped in raffia
We wrapped the raffia around the invite 3 times and secured with a dab of hot glue
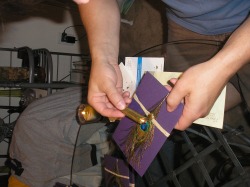
Applying the wax for sealing
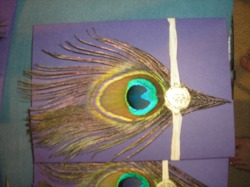
Finished Invite
Photosharing Cards
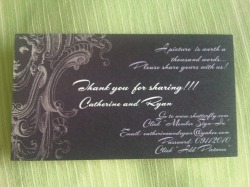
We made these photosharing cards through Vistaprint.
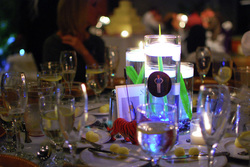
Table Numbers
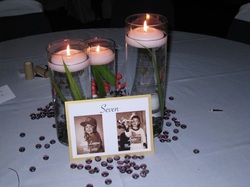
Each table will have a number and a picture of my fiance and I each at that age. We understood from guests that it got people to move around the room and meet people at other tables that they have not met. We used sheets of our paper left over from the wedding invitations (the paper used for the inserts.) We mounted the paper to the gold matting cardstock used in our invites. Again leftovers. The back of the matting had the same thing as the front with the table number except the picture was somewhat turned to sepia with writing over it telling the year and details of the photograph. I assumed we would have had tons of pictures of our tables but these were the only two pictures I could find when the wedding was nearly over. Since we were at a zoo we purchased plastic zoo animals and added wire and photo clips to turn them into table number holders. A lot of people took them home cause they thought they were cute.